DIY vs. Professional Sealing
Choosing between DIY floor sealing and hiring a professional depends on several factors. DIY floor sealing can be a rewarding experience, allowing you to save money and gain new skills. However, it requires a commitment to preparation, the right tools, and a good understanding of the process. Many homeowners feel confident tackling the project themselves, especially for smaller areas or simpler materials.
On the other hand, professional sealing offers the benefits of expertise and efficiency. Professionals have access to high-quality materials and advanced techniques that can ensure a more durable and flawless finish. Their experience allows them to identify potential issues that an untrained eye might overlook. For large spaces or complex flooring materials, hiring a professional can save time and ensure that the job is done correctly the first time.
Evaluating Your Skill Level
Before deciding whether to tackle floor sealing yourself or hire a professional, it is essential to evaluate your skill level. Assess your experience with similar home improvement projects. If you have successfully handled tasks like painting or varnishing, you may feel confident enough to take on floor sealing. Understanding the specifics of the materials and tools required is also important.
Consider the time commitment involved in floor sealing. This job typically requires thorough preparation, application, and drying time. If you have a busy schedule or limited availability, attempting the project yourself might lead to frustration or subpar results. Weighing the potential risks against your self-assuredness in your ability can help guide your decision.
Preparation Steps Before Sealing
Proper preparation is crucial before undertaking floor sealing. Start by clearing the area of any furniture, rugs, or obstacles. This ensures easy access to the entire floor surface. Depending on the type of flooring, specific cleaning methods may be required to remove dirt, debris, or old coatings. Vacuuming or sweeping is often the first step, followed by using a suitable cleaner to eliminate any stains or buildup.
Once the floor is clean, it is essential to allow it to dry thoroughly before applying any sealer. Any leftover moisture can interfere with the adherence of the sealer and lead to unsatisfactory results. It may take several hours or longer, depending on the humidity and type of flooring. Make sure to check for any imperfections or areas needing repair to ensure an even application of the floor sealing product.
Cleaning and Drying Your Floors
Proper cleaning and drying of your floors is essential before engaging in floor sealing. Begin by sweeping or vacuuming to remove dust, dirt, and debris. Use a suitable cleaning solution based on your flooring material to eliminate stains and grime. For tougher spots, a scrub brush may be necessary. After cleaning, make sure to thoroughly rinse the floor to avoid any residue that could interfere with the sealing process.
After washing your floors, allow adequate time for them to dry completely. The drying process may vary depending on humidity levels and the type of flooring you have. Rushing this step can lead to trapped moisture under the sealer, compromising its effectiveness and durability. Ensure the surface is dry by checking with your hand or using a moisture meter, especially in spaces like basements or areas with poor ventilation. Having clean and dry floors will help achieve the best results during floor sealing.
How to Apply Floor Sealer
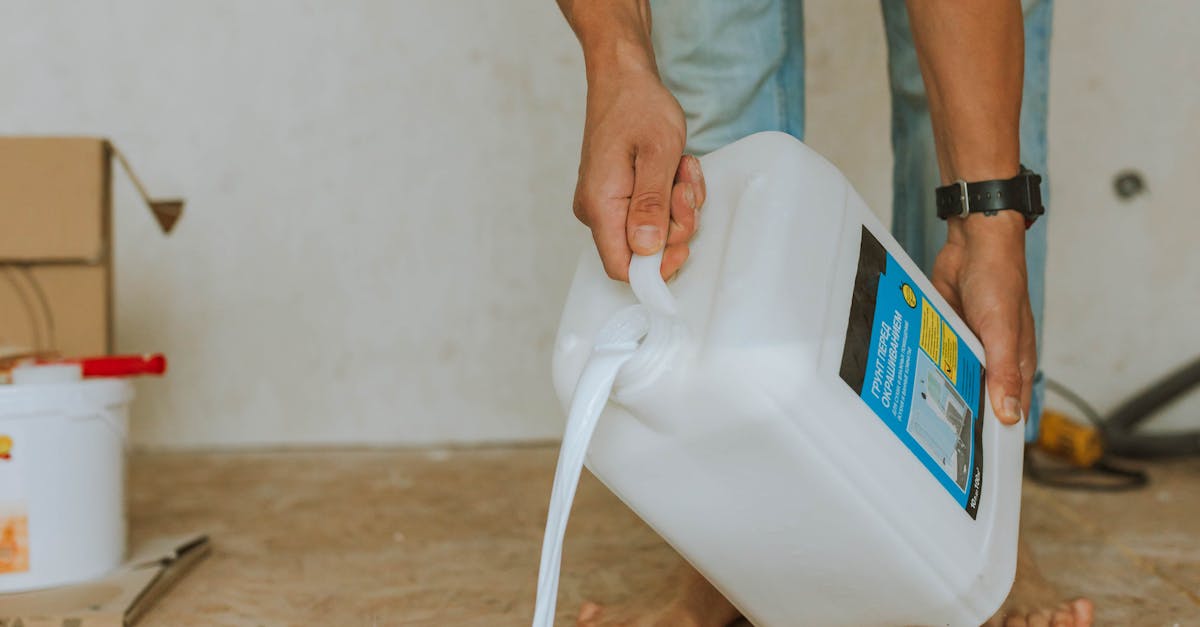
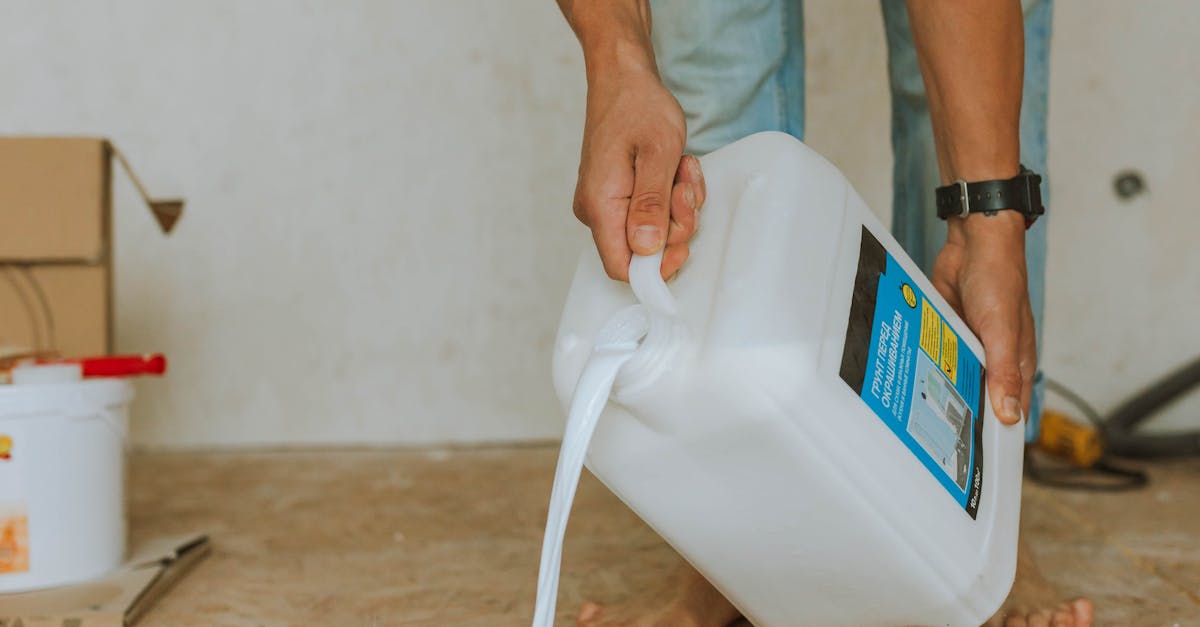
Proper application of floor sealer is crucial for achieving a durable finish. Start by selecting the right type of sealer for your flooring material. Use a roller or squeegee to evenly spread the sealer across the surface. Begin in a corner and work your way toward the exit to avoid stepping on freshly sealed areas. Be mindful of the manufacturer's instructions regarding the thickness of the application. Avoid over-saturating the floor, as this can lead to unsightly pooling and uneven drying.
After the initial coat, allow the sealer to dry completely before applying a second coat if recommended. Maintain a consistent application technique to ensure a uniform appearance throughout the floor. Once you have completed the floor sealing process, it is essential to allow sufficient curing time. This step is vital for ensuring the longevity and effectiveness of the sealer, which protects the floor from wear and stains. Regular maintenance after sealing will prolong the life of your finished floor.
StepbyStep Application Process
Before starting the floor sealing process, gather all necessary tools and materials. Prepare the area by removing furniture and covering any surfaces that might be splattered with sealer. Ensure that the floor is clean and dry. Depending on the type of sealer being used, you might need to use a specific applicator. The right tools can make the sealing process more efficient and provide a smooth finish.
Begin applying the floor sealer in a corner of the room and work your way towards an exit to avoid stepping on wet areas. Use long, even strokes to ensure uniform coverage. It is crucial to follow the manufacturer’s instructions regarding drying times between coats. Additional layers may enhance protection, particularly in high-traffic areas. After completing the application, allow sufficient time for the sealer to cure before returning furniture to the space.
FAQS
What is a floor sealer and why is it used?
A floor sealer is a protective coating applied to floors to guard against stains, moisture, and wear. It enhances the appearance of the flooring and prolongs its lifespan.
When should I consider sealing my floors?
You should consider sealing your floors when they are new, after a deep clean, or if they show signs of wear or damage. It's also a good idea to seal if the flooring material is porous and susceptible to staining.
Can I seal my floors myself, or should I hire a professional?
It depends on your skill level and the type of flooring. DIY sealing can be done if you feel confident in your abilities, but hiring a professional may be wise for larger or more complex jobs.
How do I prepare my floors before applying a sealer?
Preparation involves thoroughly cleaning the floors to remove dirt and debris, allowing them to dry completely, and repairing any damage or imperfections before applying the sealer.
How often should I reapply floor sealer?
The frequency of reapplication depends on the type of sealer used and the level of foot traffic. Generally, sealing every 1-3 years is recommended, but it’s best to check the manufacturer's guidelines.

