Safety Measures During the Staining Process
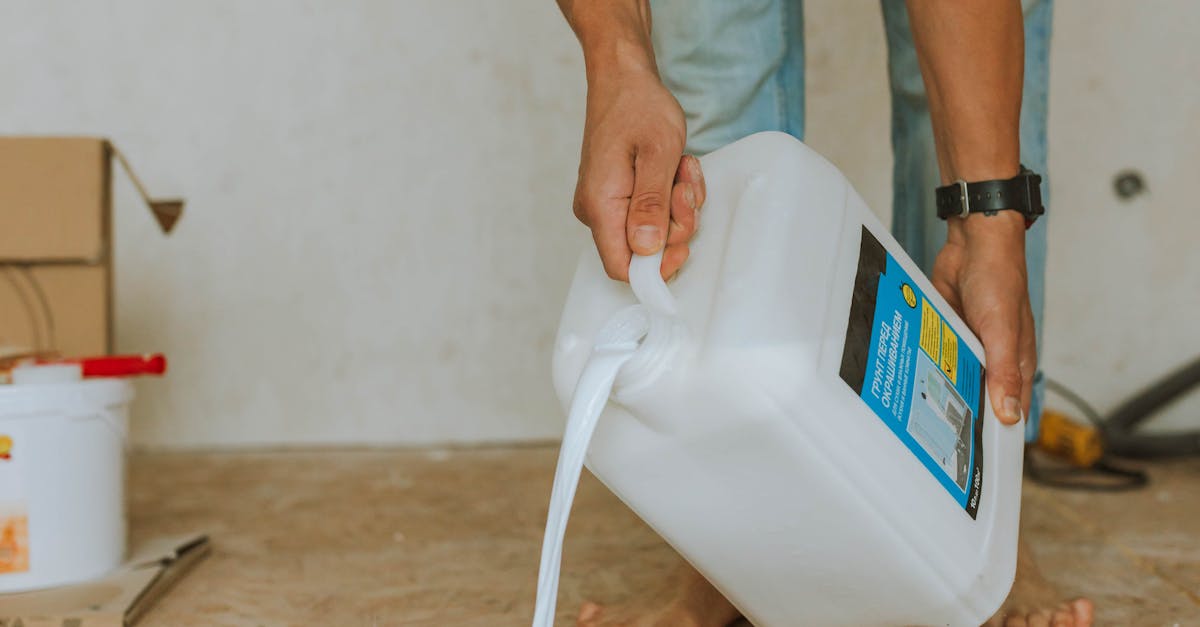
Staining a floor can transform the look of a space, but safety should always come first during this process. Proper ventilation is essential to minimize exposure to fumes from the stain and any associated chemicals. Open windows and doors to create a cross-breeze, and consider using fans to help circulate air. Personal protective equipment, such as gloves, goggles, and masks, can further reduce the risk of irritation or injury while applying the stain.
Preparation of the work area is also crucial for a safe floor staining experience. Ensure that the space is free of clutter and that nearby surfaces are covered to protect them from accidental spills. Always test the stain on a small, inconspicuous area to assess the color and finish before applying it to the entire floor. By following these safety measures, you can enjoy the benefits of floor staining without compromising your health and well-being.
Personal Protective Equipment and Ventilation
When undertaking a floor staining project, prioritizing safety through proper personal protective equipment (PPE) is essential. Wear safety goggles to shield your eyes from splashes and a dust mask to avoid inhaling any potentially harmful fumes or particles. Gloves made of chemical-resistant material will help protect your hands from irritation and staining agents. Depending on the environment and the type of stain used, additional gear, such as knee pads and old clothing, can further ensure a comfortable and safe working experience.
Ventilation plays a critical role during the floor staining process. Adequate airflow helps to dissipate fumes and reduce the risk of inhalation, making it safer for both the person applying the stain and those nearby. Open windows and doors to create a cross breeze, and consider using fans to enhance air circulation throughout the workspace. Proper ventilation not only contributes to a healthier environment but also allows for quicker drying times, enhancing the overall effectiveness of the floor staining project.
Caring for Your Stained Floor
To keep your stained floor looking fresh and vibrant, regular maintenance is essential. Start by sweeping or vacuuming the surface to remove dust and debris. Afterward, use a damp mop with a mild cleaner specifically designed for stained wood, as harsh chemicals can damage the finish. Avoid excessive moisture, as it can compromise the stain's integrity.
Routine upkeep can help prevent scratches and wear. Place rugs or mats in high-traffic areas to protect the surface. Additionally, consider occasional reapplication of a protective finish to enhance and preserve the color from floor staining. With the right care, your stained floor can maintain its beauty for years to come.
Maintenance Tips for Longevity
Regular maintenance is crucial for extending the life of your stained floors. Begin by sweeping or vacuuming the surface weekly to remove dirt and debris. This prevents scratching and helps maintain the stain’s integrity. Additionally, avoid using harsh cleaning chemicals, as they can strip away the finish and dull the color. Instead, opt for a pH-neutral cleaner specifically formulated for stained wood.
Consider applying a fresh coat of finish every few years to protect the stain and enhance its appearance. This not only provides a barrier against wear and tear but also brings back the vibrant look of your floor staining. Place mats at entryways to reduce wear from foot traffic and use felt pads under furniture to prevent scratches. Following these simple tips will help ensure your stained floors remain beautiful for years to come.
Common Mistakes to Avoid When Staining
When embarking on a floor staining project, one common mistake is not adequately preparing the surface. Skipping this step can lead to uneven absorption of the stain and a spotty appearance. Properly cleaning and sanding the floor before applying any stain ensures a smooth finish. Additionally, failing to test the stain on a small, inconspicuous area may result in an unexpected color and texture, undermining the desired aesthetic for the room.
Another frequent error arises from applying too much stain at once. This can create puddles that mar the beauty of the floor and can take significantly longer to dry. Inadequate application tools can also contribute to improper staining; using the wrong brush or roller may prevent an even coat. Taking the time to choose appropriate tools and applying thin, even layers can help achieve a more professional and lasting result in floor staining.
How to Ensure a Flawless Finish
Achieving a flawless finish during floor staining requires careful preparation. Begin by ensuring the surface of the floor is clean and free from dust or debris. Use a vacuum or a damp mop to remove any particles that might interfere with the stain. If the floor is previously stained or finished, sanding may be necessary to create a smooth, even surface. Assess any imperfections or damages and address them before applying the stain.
Choosing the right tools also plays a crucial role in the application process. Use high-quality brushes or applicators designed for floor staining to achieve an even coat. It is advisable to work in sections to maintain a wet edge and avoid lap marks. Keep an eye on the drying time between coats, as too much time or not enough can affect the overall finish. Testing the stain on a small area can help gauge the color and sheen, guiding you toward the perfect look for your floor.
FAQS
What type of stain is best for my floor?
The best type of stain for your floor depends on the material (wood, concrete, etc.) and the desired finish. Oil-based stains provide a rich color but take longer to dry, while water-based stains dry quickly and have less odor.
How do I prepare my floor for staining?
To prepare your floor for staining, start by cleaning the surface thoroughly, removing any furniture and debris. Sanding the floor is also important to create a smooth surface and help the stain adhere better.
How long does it take for floor stain to dry?
Drying times can vary based on the type of stain used and environmental conditions. Typically, oil-based stains can take 6-8 hours to dry, while water-based stains may dry in 1-2 hours. Always check the manufacturer’s instructions for specific drying times.
Can I stain my floor on my own, or should I hire a professional?
Staining your floor can be a DIY project if you have the right tools and experience. However, if you’re unsure or want a flawless finish, hiring a professional may be a better option.
How do I maintain my stained floor?
To maintain your stained floor, regularly dust and mop it with a damp cloth. Avoid using harsh chemicals or abrasive cleaners, and consider applying a protective finish or sealant periodically to enhance the longevity of the stain.
