The Sanding Process Explained
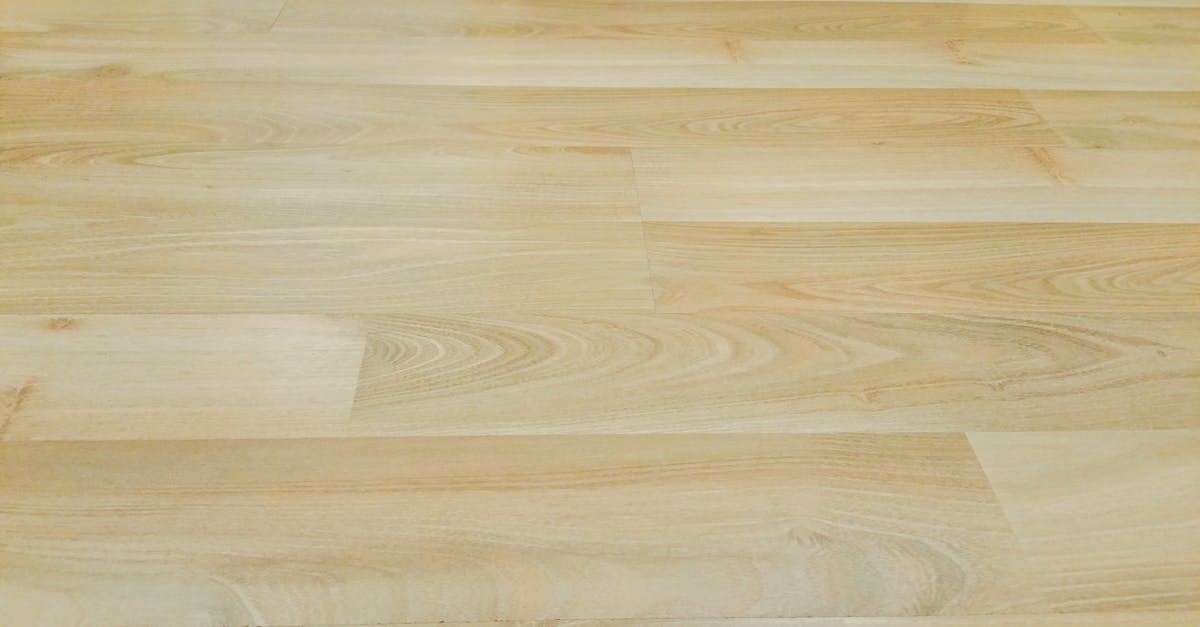
Floor sanding is a meticulous process that involves removing the top layer of a wooden surface to reveal a fresh layer beneath. This is typically done with a floor sander, which can be rented from many home improvement stores. Sanding not only eliminates scratches and imperfections but also prepares the wood for finishing. Depending on the floor's condition, different grits of sandpaper will be utilized, starting with coarse paper to remove old stains and followed by finer grits for a smooth finish.
Once the sanding is complete, dust and debris must be thoroughly cleaned from the surface. A vacuum or a damp cloth may be used to ensure no particles remain, as these can interfere with the application of finishes. Proper ventilation is also essential during this process to keep air circulation optimal. Understanding the steps involved in floor sanding is crucial for achieving a professional-looking result.
StepbyStep Guide on How to Sand Your Floors
Begin by preparing the area. Remove all furniture, rugs, and appliances from the floors. Sweep or vacuum thoroughly to eliminate dust and debris that could interfere with the sanding process. Ensure that all baseboards or trim are protected by using painter’s tape for a clean finish. If necessary, repair any damaged boards or replace them before starting.
Next, choose the right equipment for floor sanding. Select a floor sander suitable for your space, such as a drum sander or an orbital sander, based on the size and condition of your floors. Start with a coarse-grit sandpaper to remove the old finish, and then gradually move to finer grit sandpaper for a smoother surface. Keep the sander moving steadily to avoid creating grooves or marks. Regularly check your progress to ensure even sanding throughout the entire area.
Finishing Techniques After Sanding
After completing the floor sanding process, the next crucial step involves applying finishing techniques to protect and enhance the wood's appearance. Finishing not only brings out the natural beauty of the grain but also creates a durable surface that can withstand daily wear and tear. Different types of finishes are available, including oil-based and water-based sealers, each offering unique benefits in terms of protection, drying time, and color retention.
Applying stains can also significantly transform the look of your floors. A stain allows you to customize the tone of the wood, providing an opportunity to match existing decor. It’s important to test the stain on a small, inconspicuous area before applying it to the entire surface. Ensuring that the floors are thoroughly cleaned and sanded properly is vital, as any remaining dust or debris can lead to a flawed finish.
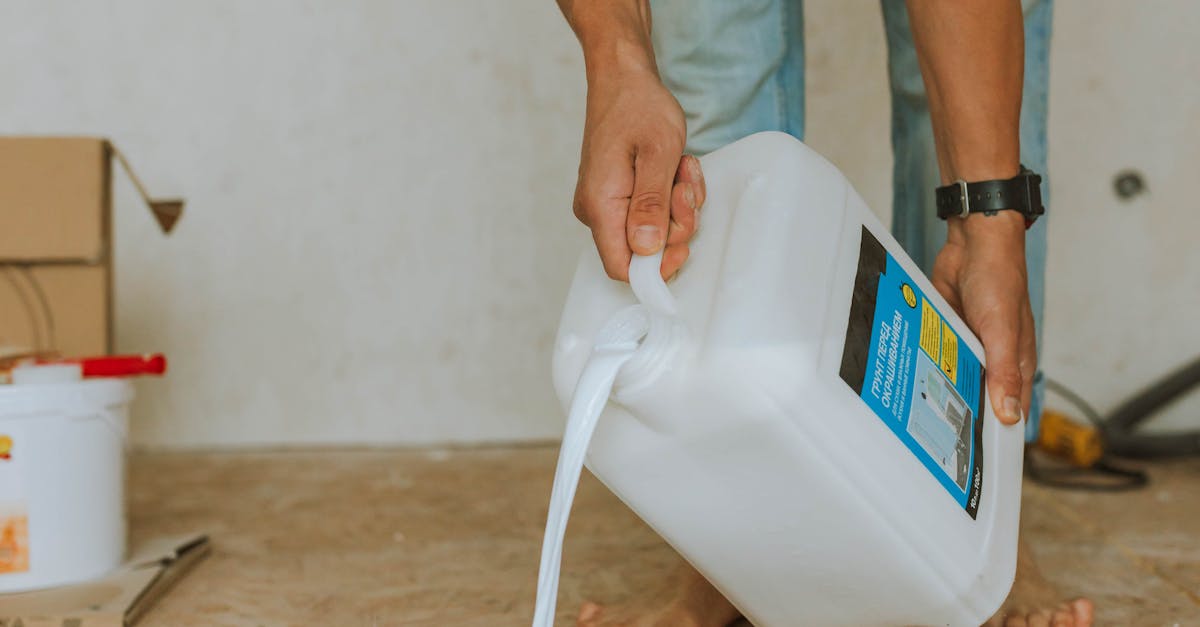
Applying Sealers and Stains for Best Results
Applying sealers and stains is a crucial step after floor sanding. Sealers act as a protective barrier, preventing moisture and dirt from penetrating the wood while enhancing its appearance. It is essential to choose a product compatible with the type of wood and the finish you desire. Before applying, ensure that the sanded surface is clean and dry. Using a high-quality brush or roller provides a smooth application, avoiding unsightly streaks or bubbles.
Stains allow you to personalize the look of your floors, adding depth and character to the wood. When selecting a stain, consider testing a small area first to see how it interacts with the sanded surface. Always apply the stain in even strokes, working with the grain of the wood for the best results. Allow adequate drying time between coats, which contributes to achieving a more vibrant finish. Proper application techniques during this phase can significantly enhance the overall outcome of your floor sanding project.
Common Mistakes to Avoid When Sanding
One of the most common mistakes people make during floor sanding is not properly preparing the space. Failing to clear the room of furniture and debris can lead to uneven sanding. Dust and particles can scratch the surface or create a rough texture, diminishing the quality of your finish. Ensuring a clean, open area is essential for achieving a smooth and professional look after the project is completed.
Another common error is not using the right grit of sandpaper at each stage of floor sanding. Starting with a paper that is too fine can prolong the process without effectively removing imperfections. Conversely, using too coarse a grit can damage the wood, creating additional work. It's important to systematically progress from coarser to finer grits, allowing each stage to prepare the floor for the subsequent treatment.
Tips for a Flawless Finish
Achieving a flawless finish during the floor sanding process requires attention to detail. Begin by ensuring the area is clean and free of debris. Dust, dirt, and any trapped particles can mar the surface and lead to imperfections. Use a vacuum to thoroughly remove dust before applying any finish. Additionally, work in a well-ventilated area to avoid issues with fumes from stains and sealers.
Choosing the right tools can also make a significant difference. Quality sanding equipment designed for hardwood floors will yield better results than makeshift devices. When you begin the sanding process, use the correct grit for each stage. Starting with a coarse grit and moving to finer grits will help achieve a smooth surface. Once sanding is complete, take the time to inspect the floor for imperfections before moving on to applying final finishes.
FAQS
Can I sand my own floors without any experience?
While it is possible to sand your own floors without prior experience, it is recommended to do thorough research and possibly practice on a small area first. Consider consulting with professionals or watching tutorials to better understand the process.
What tools do I need to sand my floors?
Essential tools for sanding floors include a drum sander, edge sander, sandpaper in various grits, a vacuum, and safety equipment such as goggles and a mask.
How long does the sanding process take?
The time it takes to sand your floors depends on the size of the area and your experience level. Generally, it can take a few hours to a full day for an average-sized room.
Do I need to remove furniture before sanding my floors?
Yes, it is crucial to remove all furniture and belongings from the area you plan to sand to ensure a safe and efficient sanding process.
What are the common mistakes to avoid when sanding floors?
Common mistakes include using the wrong grit sandpaper, not sanding evenly, neglecting to vacuum the dust, and failing to apply finish correctly. Careful planning and attention to detail can help avoid these issues.